English
 Arabic
 French
 Spanish
 Portuguese
 Deutsch
 Turkish
 Dutch
Dutch
 Italiano
 Russian
 Romaian
 Portuguese (Brazil)
 Greek
Greek
What Keywords Could Bring More Qualified Clients to Your Firm?
Other |
2026-08-18 06:06:20
 Advertise With Us
 About Us
 Terms And Conditions
 Privacy Policy
Hepsini Gör
Privacy Policy
Hepsini Gör

Upgrade to Pro
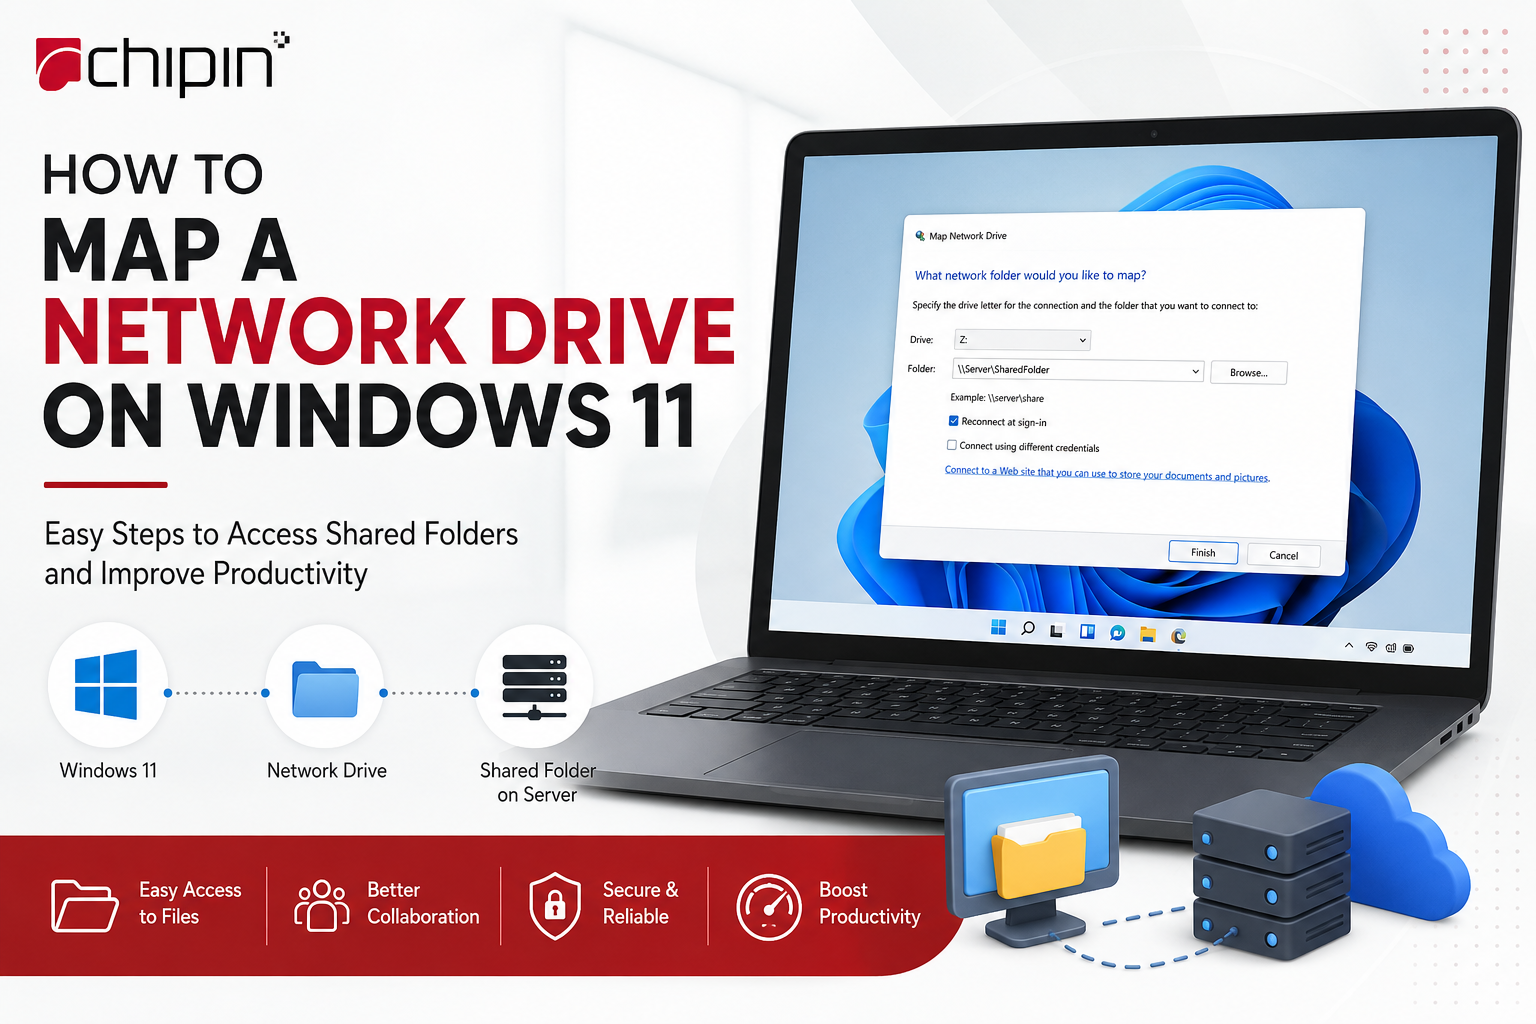
Network drives make it easy for employees to access shared files, collaborate with teams, and securely store important business data. Whether you work from an office or remotely, mapping a network drive in Windows 11 allows you to access shared folders directly from File Explorer without entering the network path every time.
In this guide, you'll learn how to map a network drive on Windows 11, why businesses use network drives, and how to troubleshoot common connection issues.
A network drive is a shared folder or storage location hosted on another computer, server, or NAS (Network Attached Storage) device. Once mapped, it appears in File Explorer like a regular local drive with its own drive letter.
Businesses commonly use network drives to:
Share files across departments
Centralize company documents
Improve collaboration
Simplify file backups
Control user permissions and data access
For organizations using Managed IT Services, network drives are an essential part of daily operations because they provide secure and reliable access to shared business resources.
Mapping a network drive offers several advantages for businesses and individual users alike.
Instead of typing a long network path every time, you can simply open the mapped drive from File Explorer.
Multiple employees can access the same files, making teamwork easier and more efficient.
Shared folders help departments organize documents in one centralized location.
Access permissions can be managed by IT administrators, ensuring only authorized users can view or edit files.
Employees spend less time searching for files and more time focusing on work.
Follow these simple steps to connect a shared folder as a network drive.
Press Windows + E or click the File Explorer icon from the taskbar.
In the left navigation pane, click This PC.
From the top menu, select Map network drive.
Select any available drive letter such as:
Z:
Y:
X:
N:
The drive letter is simply how Windows identifies the shared location.
Type the shared folder path using this format:
\\ServerName\SharedFolder
or
\\192.168.1.10\SharedFiles
If you're unsure of the path, ask your IT administrator.
Check the box labeled:
Reconnect at sign-in
This ensures Windows automatically reconnects the network drive whenever you log in.
If the shared folder requires a different username and password, check:
Connect using different credentials
Enter your network username and password when prompted.
Click Finish.
The mapped network drive will now appear under This PC and function like a local storage drive.
If you no longer need the mapped drive:
Open File Explorer
Select This PC
Right-click the mapped drive
Click Disconnect
The shortcut will be removed without deleting any files stored on the server.
Sometimes users may experience issues while mapping a network drive. Here are the most common problems and their solutions.
Possible causes:
Incorrect server name
Wrong folder path
Device is offline
Solution:
Verify the server name and ensure both devices are connected to the same network.
Access Denied
Possible causes:
Incorrect login credentials
Missing user permissions
Solution:
Contact your IT administrator to verify access rights.
Drive Disconnects Automatically
Possible causes:
Network interruptions
Server restart
VPN disconnect
Solution:
Enable Reconnect at sign-in and ensure your network connection is stable.
Cannot See Shared Folder
Possible causes:
File sharing disabled
Network discovery turned off
Solution:
Enable Network Discovery and File Sharing in Windows settings.
To ensure secure and reliable access, follow these best practices:
Use strong passwords for shared accounts.
Assign permissions based on employee roles.
Regularly back up shared folders.
Keep Windows and server software updated.
Monitor storage capacity to prevent downtime.
Remove access for inactive users.
Use antivirus and endpoint protection to safeguard shared data.
Businesses with growing IT environments often rely on Managed IT Services to manage network storage, user permissions, backups, and ongoing maintenance.
Managing shared drives across multiple employees can become complex without professional support. A trusted IT partner can help with:
Network drive setup and configuration
Windows Server management
User access management
Data backup and disaster recovery
File server maintenance
Security monitoring
Cloud and hybrid storage integration
Remote technical support
Professional IT support ensures your network infrastructure remains secure, efficient, and available whenever your team needs it.
Mapping a network drive on Windows 11 is a simple yet powerful way to improve file accessibility and team collaboration. By following the steps above, users can quickly connect to shared folders and streamline their daily workflow.
For businesses that depend on secure file sharing, centralized storage, and reliable network performance, proper network drive management is essential. Partnering with an experienced IT service provider helps ensure your shared storage remains secure, organized, and always accessible, allowing your business to focus on growth instead of IT challenges.